How to Set Up a CCTV System Yourself — A DIY Guide for Australian Homeowners
Installing your own CCTV system is more straightforward than most people expect. You don't need an electrician or a security technician. What you need is a clear plan, the right equipment, and a free weekend. This guide walks you through the complete process from planning to first live view.
Step 1: Plan Your Camera Positions
Before you buy anything, walk your property and identify the positions you want to cover. The goal is to cover every entry point — front door, back door, garage, and side gates at minimum. Mark each position and estimate how far it is from where you plan to locate the NVR (typically inside, near your router and TV or monitor).
For a standard Australian suburban home, you'll typically need 4–6 positions. Refer to our guide on how many cameras you need for a detailed breakdown by property type.
Step 2: Choose Your Kit
For most Australian homes, a HiLink PoE camera kit is the right choice. The kits include everything you need: cameras, NVR, hard drive, and mounting hardware. Choose your resolution (5MP or 8MP/4K) and camera count based on your property layout.
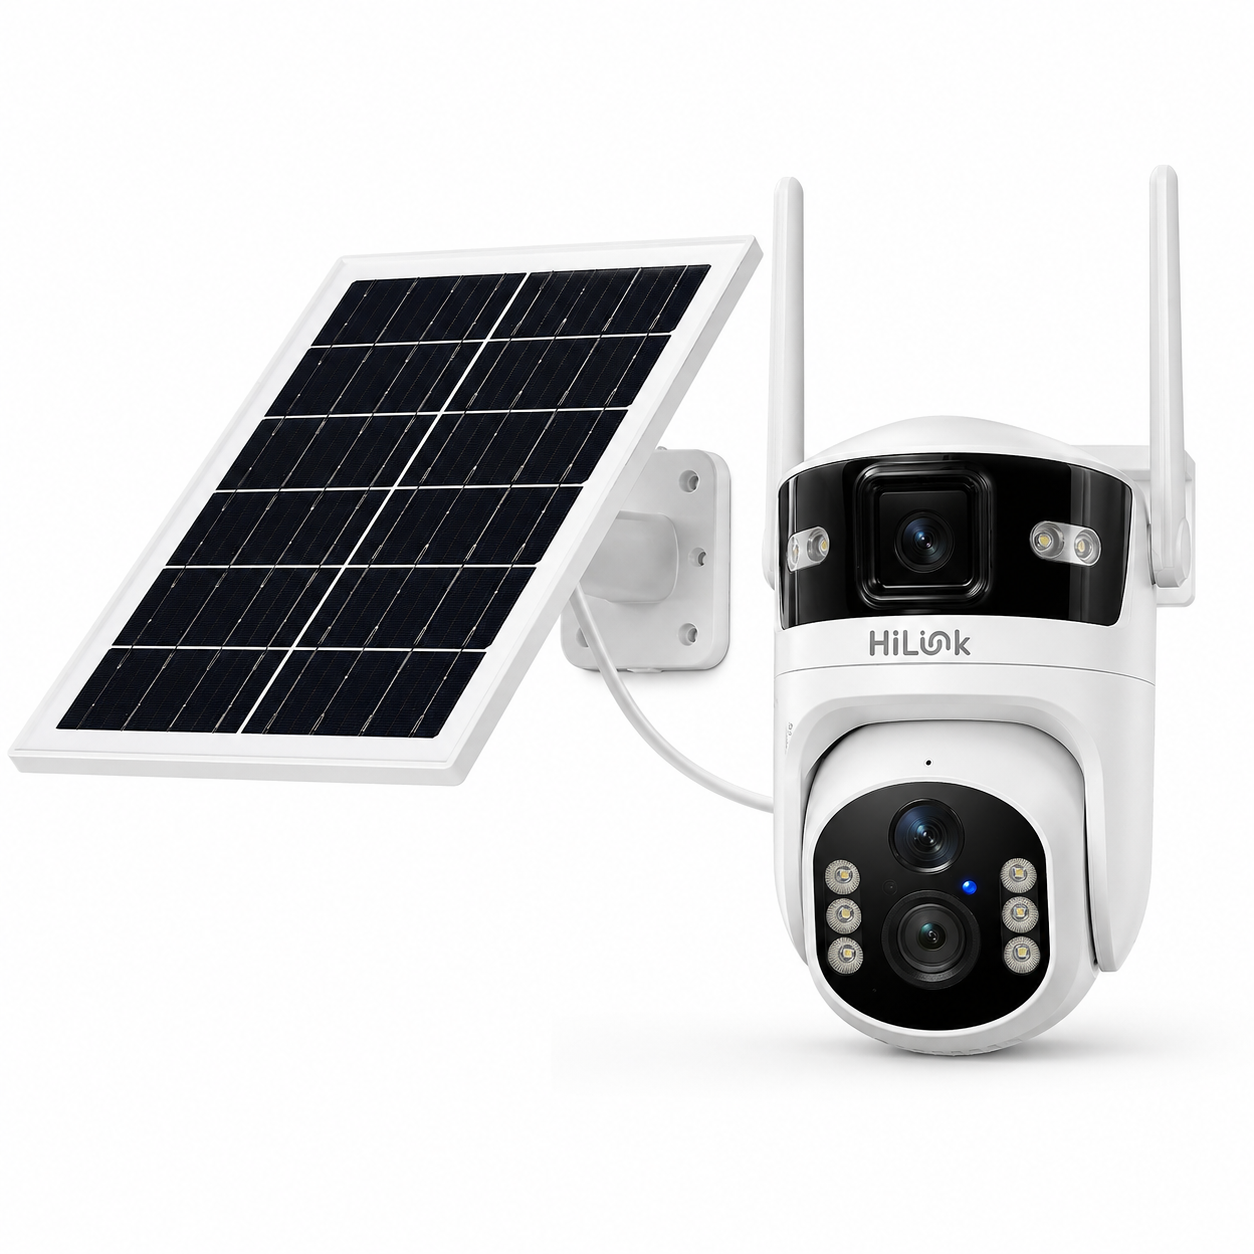
If you have remote areas without power or Wi-Fi — sheds, gates, paddocks — consider adding a HiLink Solar 4G PTZ Camera for those positions.
Step 3: Gather Your Installation Tools
You'll need:
- Power drill with masonry or timber bits (depending on your wall material)
- Fish tape or cable snake for running cable through walls and ceiling cavities
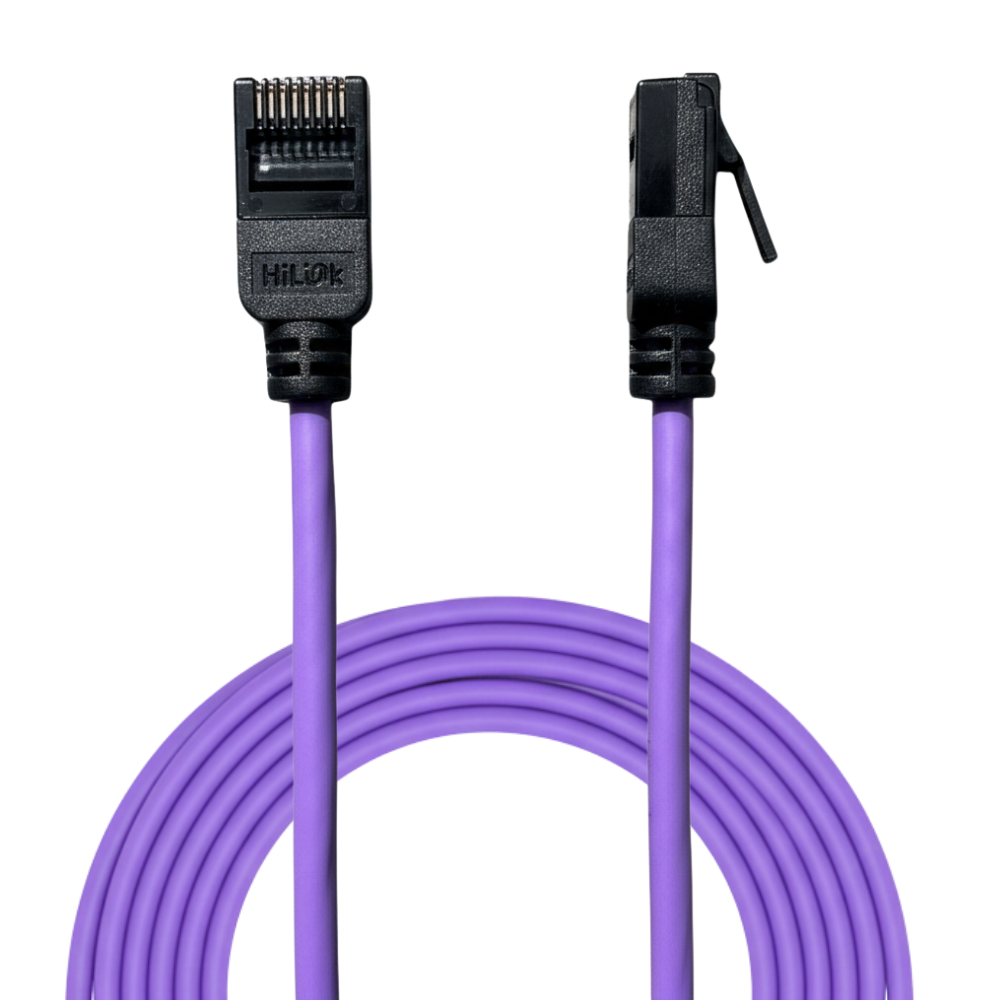
- Cat6 Ethernet cable (allow extra length — better too much than too short)
- RJ45 crimp tool and connectors (or use pre-made patch cables for short indoor runs)
- Cable clips or conduit for tidy outdoor runs
- Ladder for mounting cameras at height
The HiLink RJ45 Crimp Tool and RJ45 connectors are purpose-built for this job and available separately.
Step 4: Mount the Cameras
Mount cameras at 2.5–3 metres height for the best angle — high enough to avoid tampering, low enough to capture facial detail. Point each camera slightly downward at approximately 15–30 degrees. Use the included mounting template to mark and drill pilot holes, secure the mount, then attach the camera body.
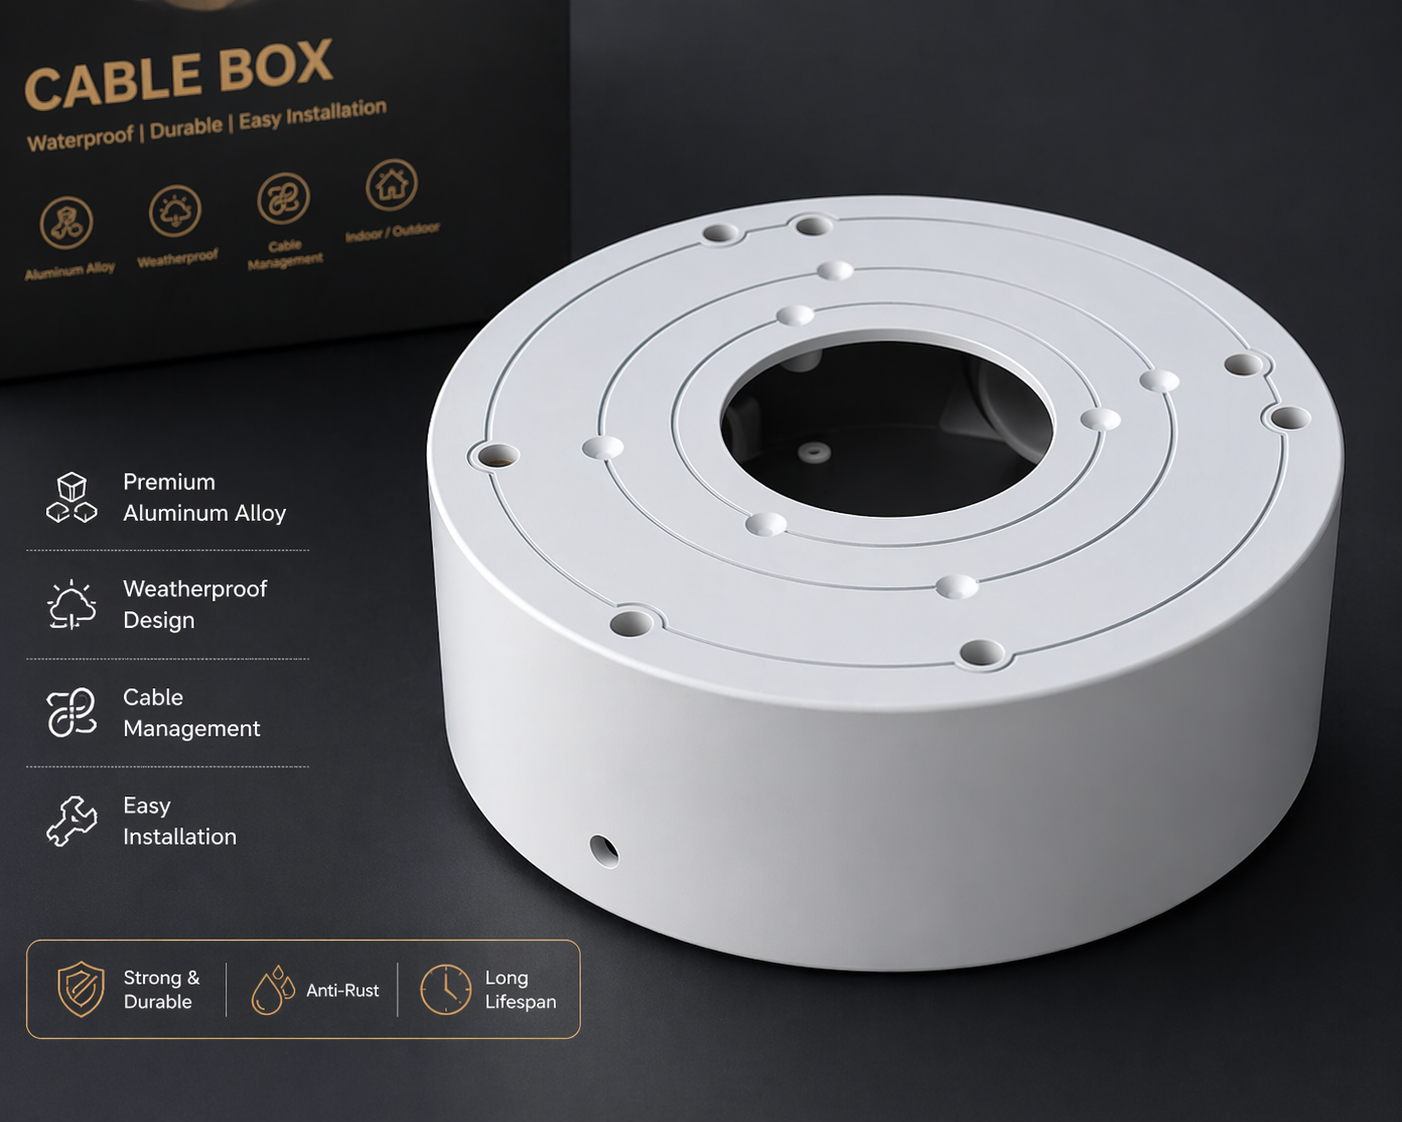
For outdoor cameras, run cable through the wall from inside — this keeps the entry point hidden and protected. Seal around the cable entry with silicone to prevent water ingress.
Step 5: Run the Cat6 Cable
Each camera needs a single Cat6 cable run from the camera location back to the NVR. The maximum run length is 100 metres. Route cable through ceiling cavities, down internal walls, or in outdoor conduit for exposed runs. Keep cables away from power lines where possible to minimise interference.
Label each cable at both ends as you go — you'll thank yourself later. Terminate each end with RJ45 connectors using the crimp tool, or connect directly to keystone jacks if using a patch panel.
Step 6: Connect the NVR
Place the NVR in a secure indoor location — a cupboard, garage shelf, or TV cabinet. Connect each camera's Cat6 cable to the numbered PoE ports on the rear of the NVR. Connect the NVR to your TV or monitor via HDMI, and to your router via Ethernet for remote viewing. Power on the NVR.
Step 7: Initial Setup and Configuration
On first boot, the NVR will auto-detect all connected cameras. Follow the on-screen setup wizard to:
- Set the date, time, and timezone (AEST/AEDT)
- Configure recording mode (continuous, motion-triggered, or schedule)
- Set up motion detection zones and alert sensitivity
- Create a password for local and remote access
Step 8: Set Up Remote Viewing
Download the HiLink app on your smartphone. Scan the QR code displayed on the NVR screen or enter the device ID manually. Once connected, you can view all cameras live from anywhere in the world, review recorded footage, and receive motion alert notifications.
How Long Does Installation Take?
For a 4-camera system in a standard home: allow a full day for a first-time installer — roughly 2 hours for planning and mounting, 4–5 hours for cable runs depending on your home's construction, and 1 hour for NVR setup and configuration. Second installations go much faster.
Frequently Asked Questions
Do I need a licensed electrician?
No — PoE cameras are powered by low-voltage Ethernet cable, not mains power. The NVR plugs into a standard power outlet. No licensed electrical work is required.
What if I can't run cable through the walls cleanly?
Surface-mount conduit is a clean and widely used alternative. White or grey conduit is available from any hardware store and gives a neat professional appearance when mounted along architraves and eaves.
Can I add more cameras later?
Yes — the 8-channel NVR included in all HiLink kits has spare ports. Simply run an additional Cat6 cable and connect a new HiLink camera.